This article describes the steps you need to take to successfully obtain an Instagram token which you can use to pull in Photos from your account on Instagram into the Gallery Extra widget.
What is an access token
A token is a succession of characters that your website needs to know in order to successfully communicate with an Instagram feed. Without it, Instagram cannot allow access to its server and thus displaying your photos with the Gallery Extra widget will not be possible.
Why do I need it?
Basically the access token proves you have permission to access the photos from a certain website. It’s a random string that is generated once you allow permission for your website to access your Instagram account.
How to get an access token
Generating an access token takes a few steps to be completed, all of which require you to have a Facebook developer account and an app with the Instagram configured properly. Below we guide you through this process, but it’s up to you to create a Facebook developer account first.
Create a Facebook App
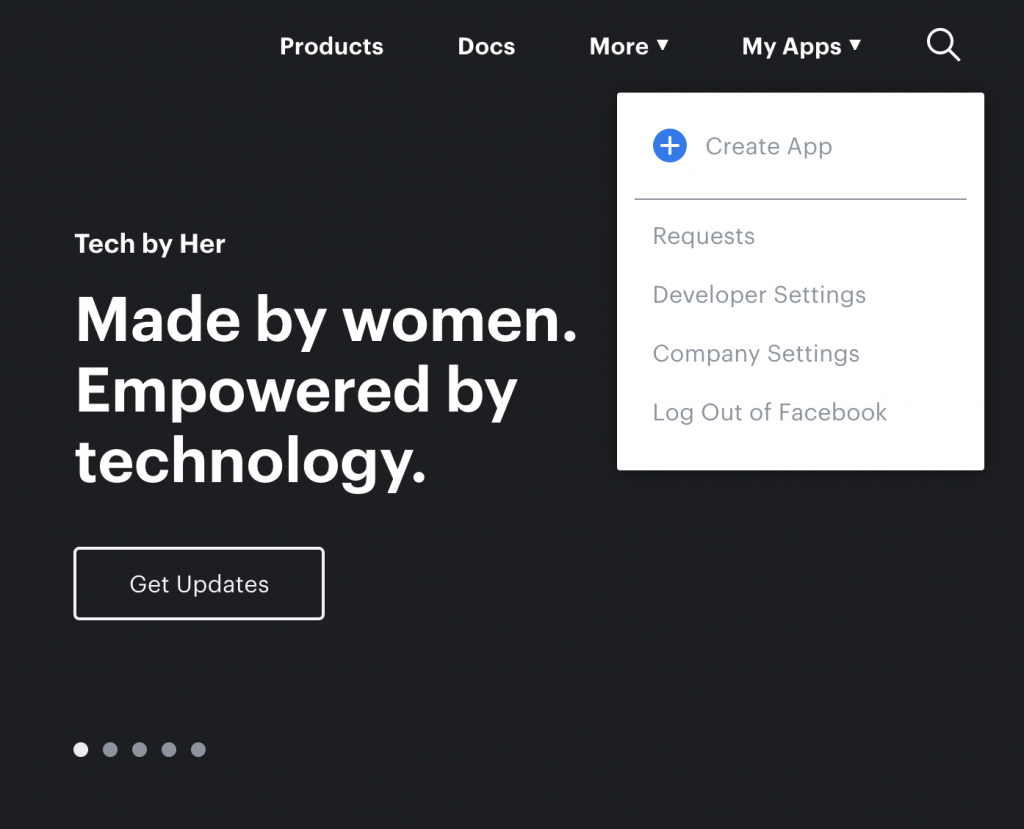
On the top right menu, click on My Apps > Create App.
Enter the App ID details in the form that appears.
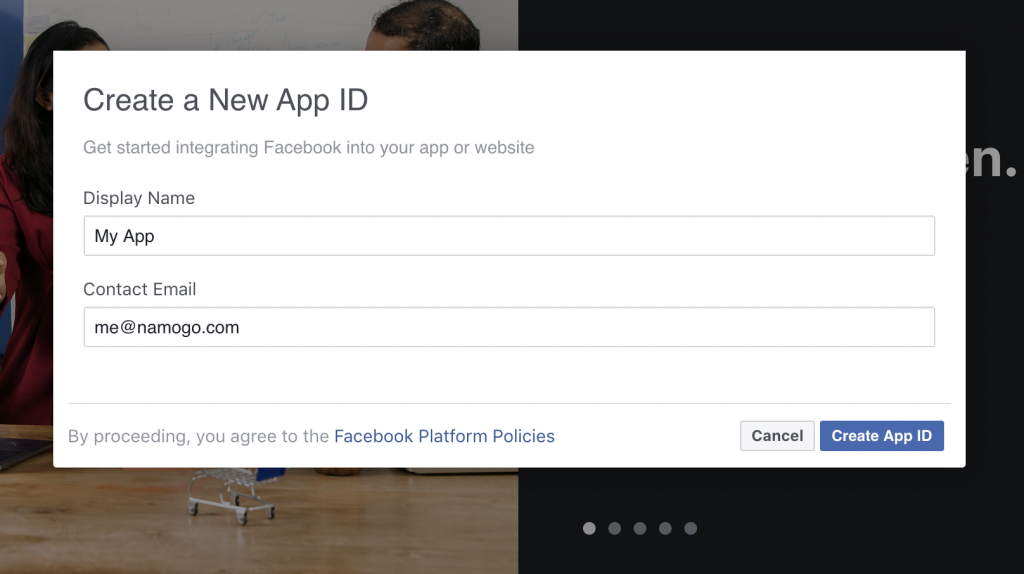
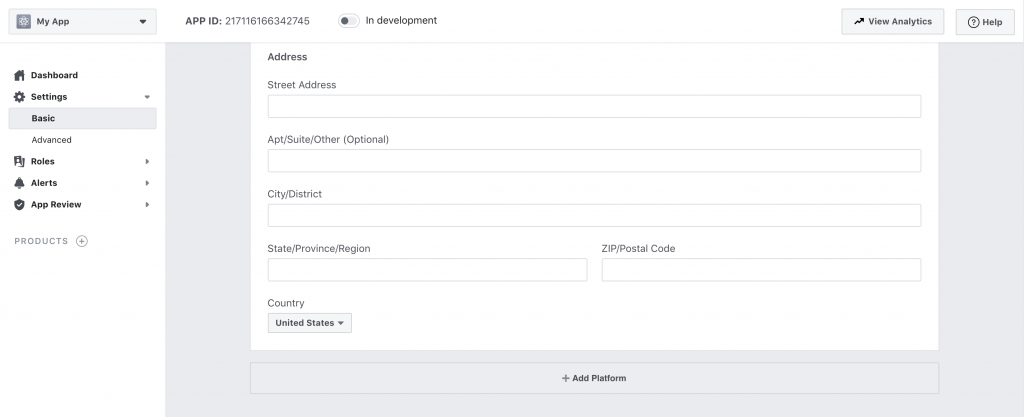
Click Create App ID. On the next screen, in the main menu go to Settings > Basic. Scroll down and click the Add Platform button.
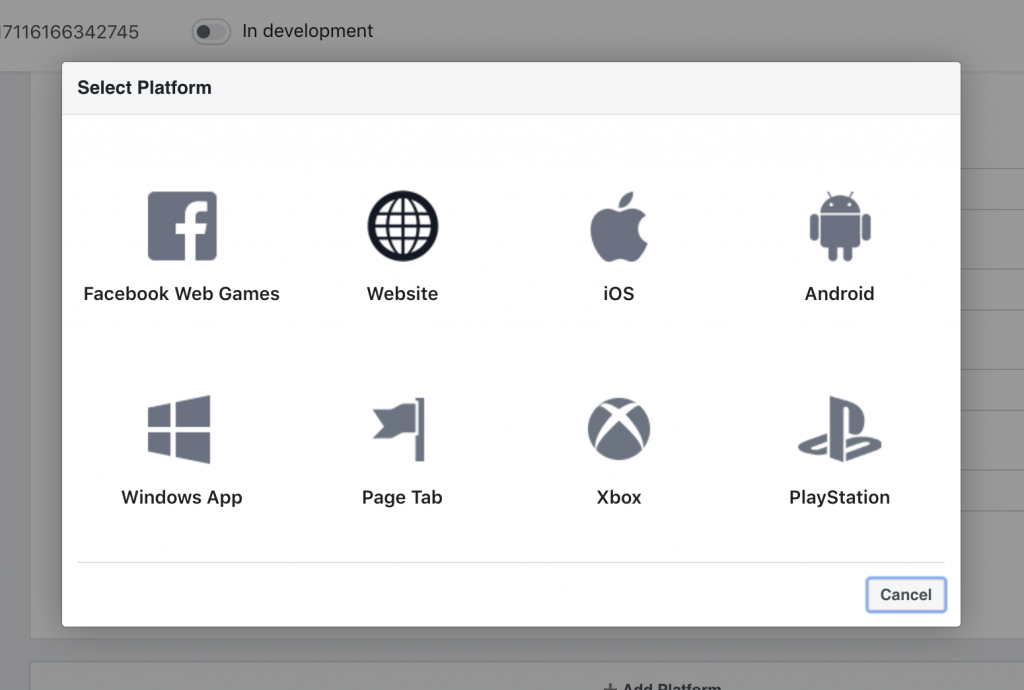
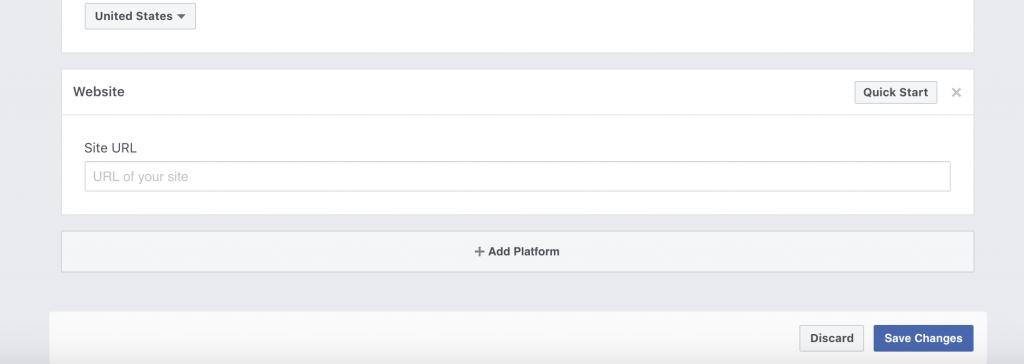
Choose Website from the options presented.
Enter the URL of your website in the form that appears and click the Save Changes button on the bottom right.
Configure Instagram for your new App
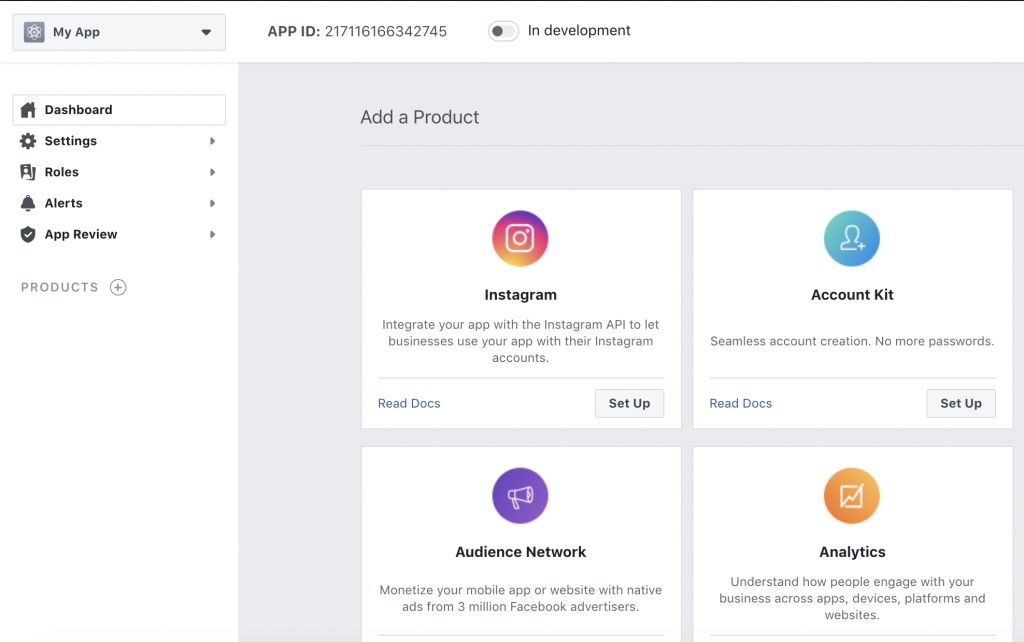
Below the menu on the left side, click the + sign next to Products and select Instagram from the next screen by clicking the Set up button next to it.
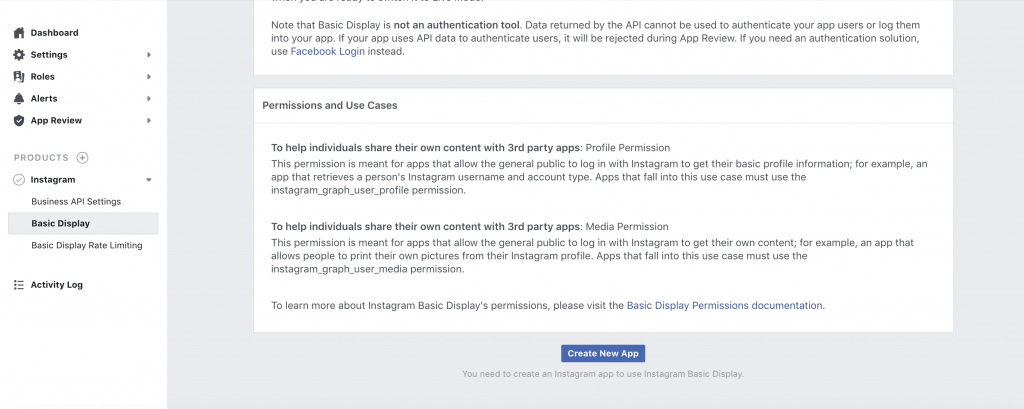
On the next screen, go to Instagram > Basic Display in the menu on the left, scroll all the way down and click Create New App.
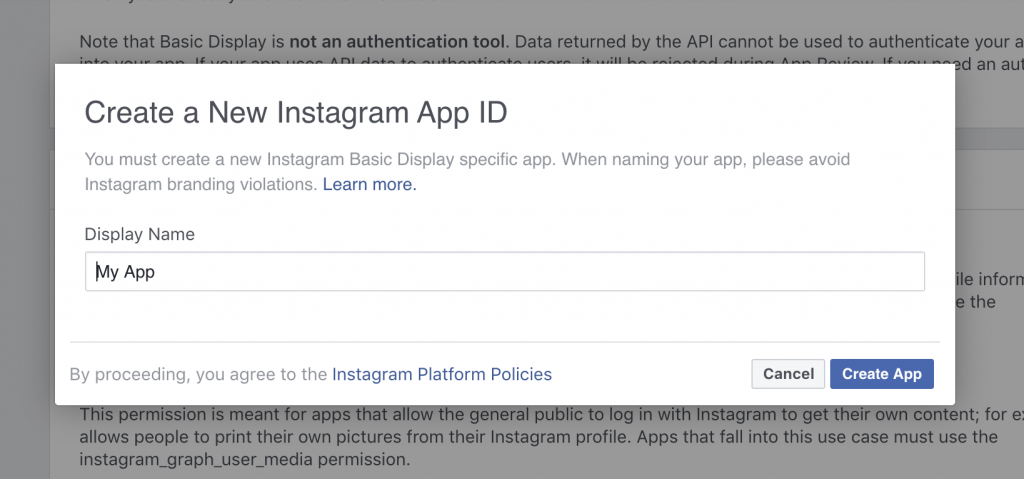
Enter an Instagram App ID by entering a name for your Instagram App, then click Create App.
On the next screen fill in the fields with the following values:
- Valid OAuth Redirect URIs — https://shop.namogo.com/instagram-token
- Deauthorize Callback URL — Enter your website URL with https:// in front
- Data Deletion Request URL — Enter your website URL with https:// in front
Leave the rest of the fields as they are and click Save Changes.
Add a test user
On the same screen click Add or Remove Instagram Testers or go to Roles > Roles in the menu on the left.
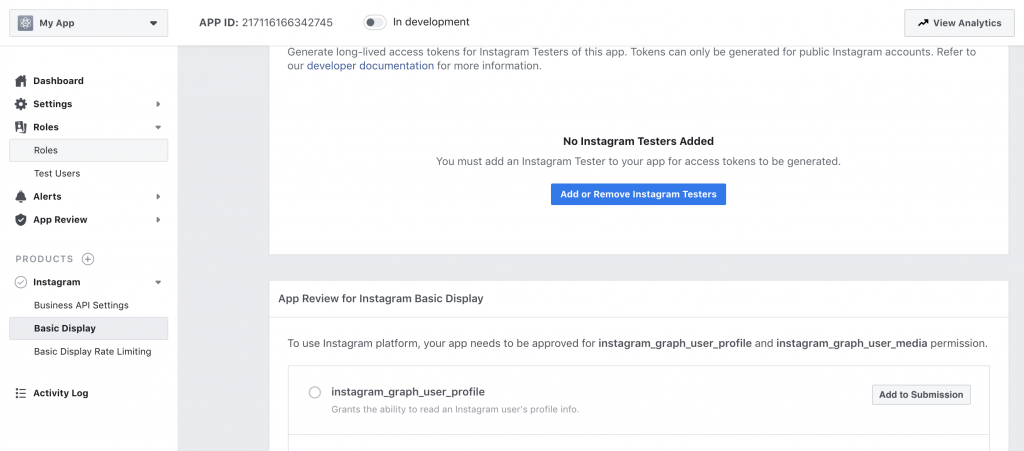
Scroll down to the Instagram section and click the Add Instagram Testers button.

The popup that appears, you need to add the username of your Instagram account that will have permission to use the Instagram App. Input your own account name, not what is shown below.

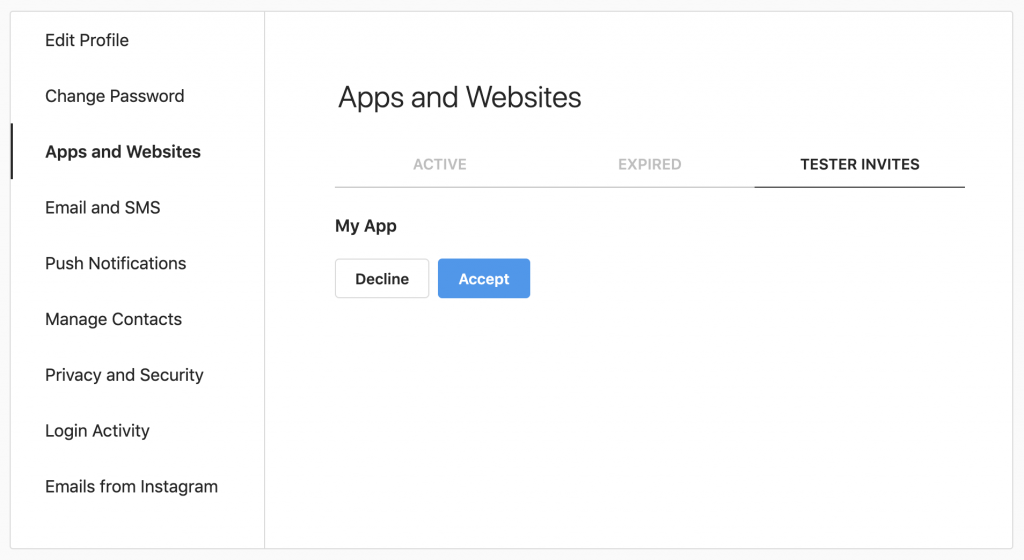
In a new browser window or tab, login to Instagram with the account provider in the previous step and go to Edit Profile > Apps and Websites > Tester Invites. You should find the invitation from your App in the list. Click Accept and your account will be authorised for your App.
Generate your access token
Go to Instagram > Basic Display in the left menu of the Facebook Developers platform and Copy your Instagram App ID and Instagram App Secret. The App Secret will require your Facebook password to display.

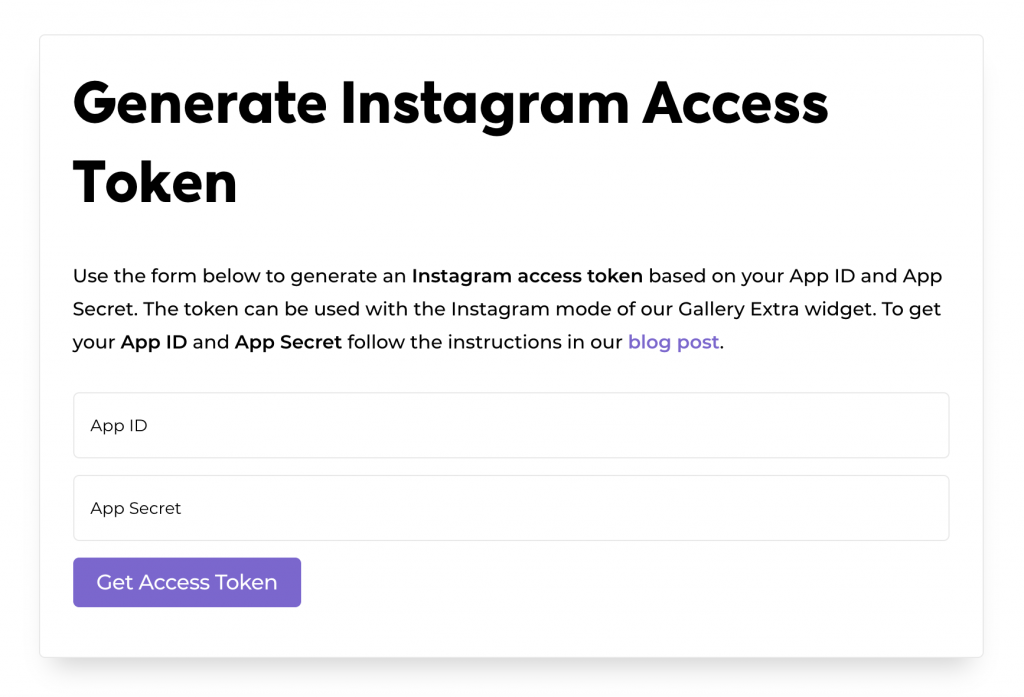
Go to our access token generator page and paste your App ID and App Secret in the fields shown. Click Get Access Token.
If successful, you will get your access token once you allow access to the App.
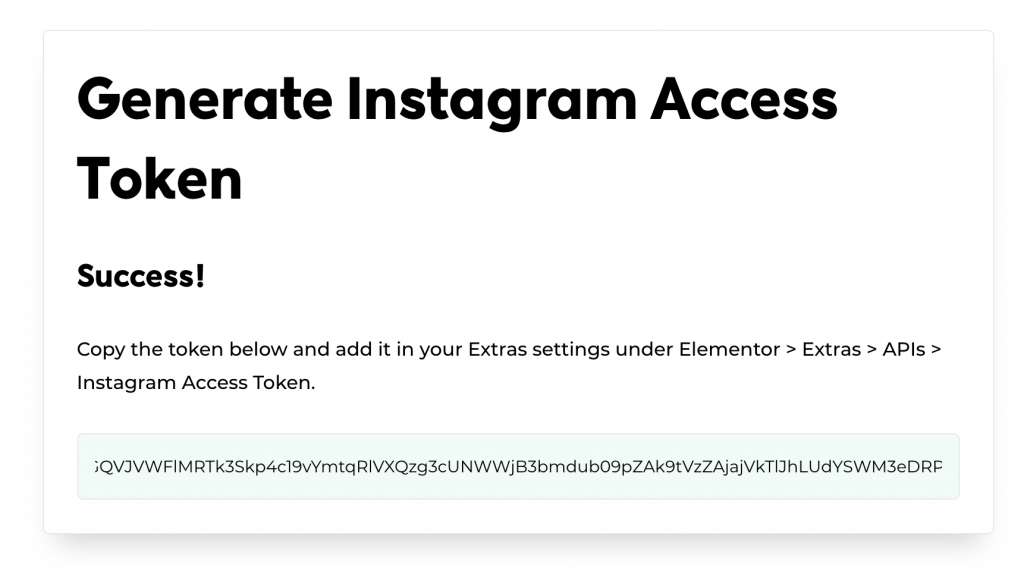
Enter the token in your website’s admin area under Elementor > Extras > APIs > Instagram Access token.

That’s it. You’re done and you can use the Gallery Extra widget’s Instagram feature to show your Instagram posts. Enjoy!